What is a Firewall?
A firewall can be seen a traffic light for data traffic flowing between different networks / computers. Here's an example:
Red Light (Blocked Traffic): When the light is red, the cars will stop and not pass. Just like a traffic light, a firewall can stop certain types of incomming/outgoing data traffic.
Yellow Light (Filtered Traffic): Normaly when the light is yellow you should slow down. A firewall can filter and inspect traffic, it can analyze the data before making a decision.
Green Light (Permitted Traffic): When the light is green, vehicles are permitted to proceed. A Firewall can allows data traffic to pass through.
Firewalls play a crucial role in network security by acting as a barrier between a trusted internal network and potentially untrusted external networks like the internet. They help prevent unauthorized access, protect against cyberattacks, and ensure that data traffic adheres to established security policies.
In my Homelab the "untrusted external network" is going to be my homelan.

Let me introduce you to PfSense
Netgate created an open-source firewall running on FreeBSD, it is created for both home and enterprise environments providing advanced network security features. its include a couple features like:
- Routing
- VPN
- Load Balancing
- Intrusion Detection and Prevention
PfSense - installation
Download the installation CD from the official PfSense website. Once the download is complete, insert the ISO file into the virtual machine (VM) you created in the previous chapter. Boot up the virtual machine.
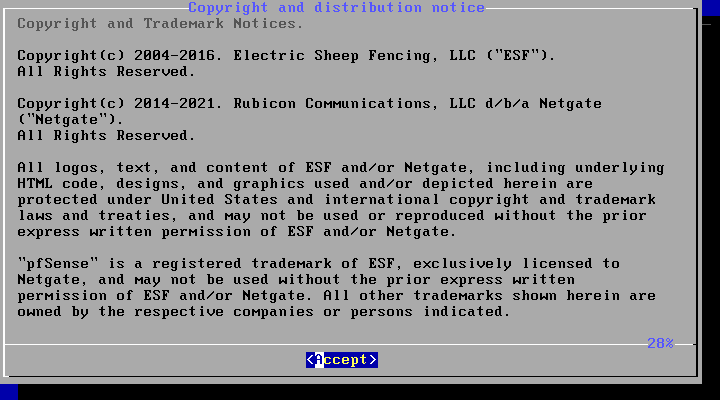
Before proceeding, you must accept the EULA.
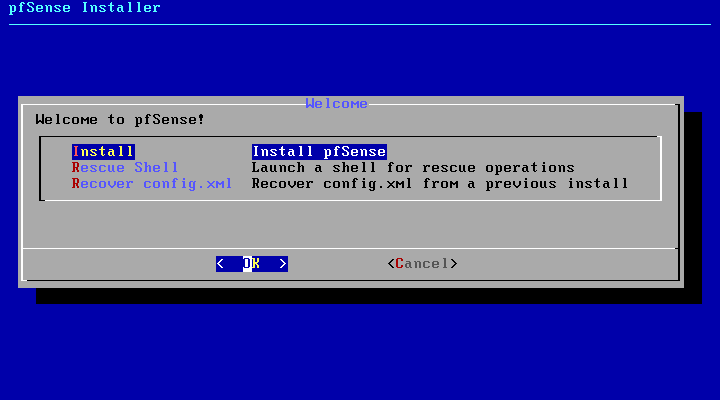
Select the "Install PfSense" option to initiate the installation process.
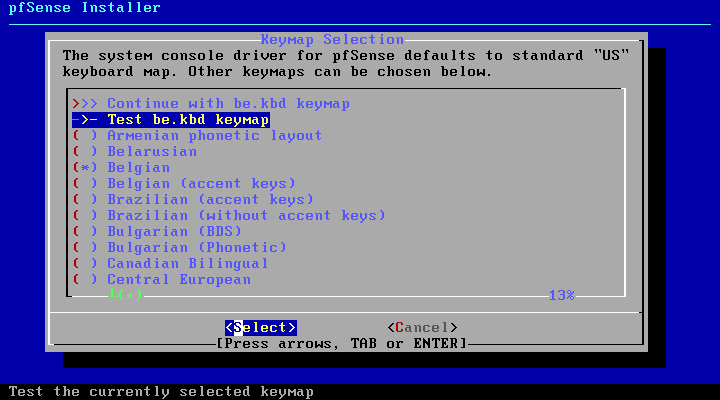
Choose the appropriate keymap layout when prompted.
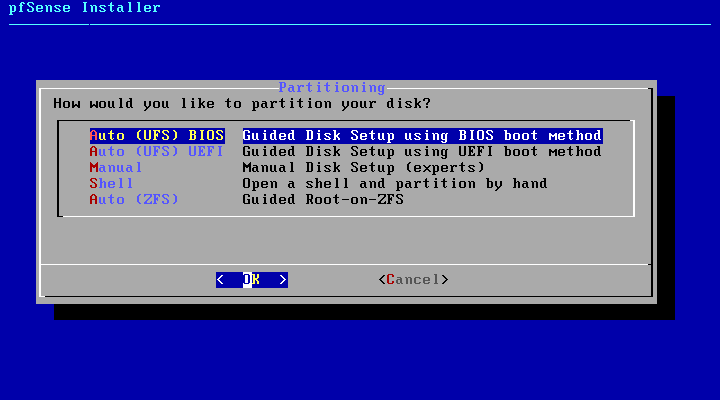
Partitioning options are available; manual partitioning is useful for configuring RAID installations. In this virtual lab environment, you can chose for auto partitioning.
Then Pfsense will continue to install.

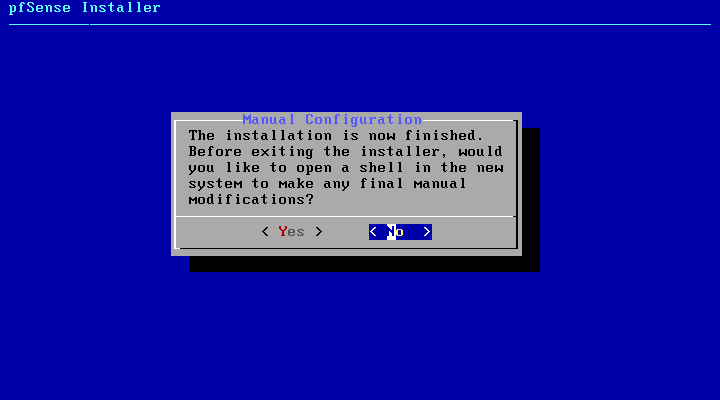
You can create some modification. This is not needed so you can select no.
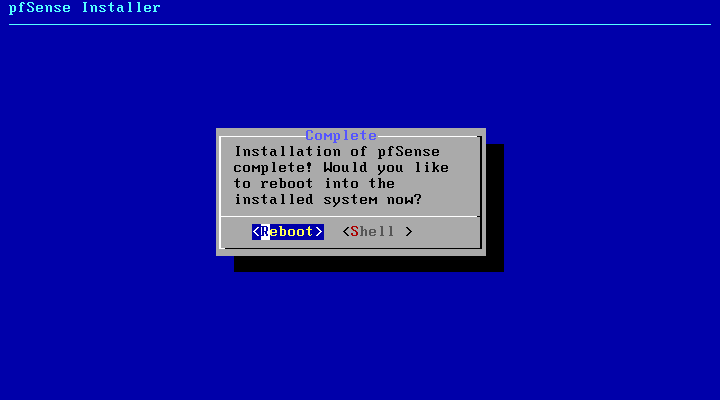
When the installation is complete, press the "Reboot" option.
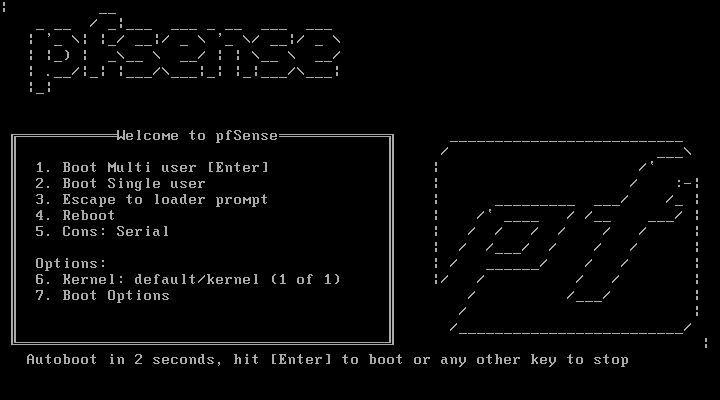
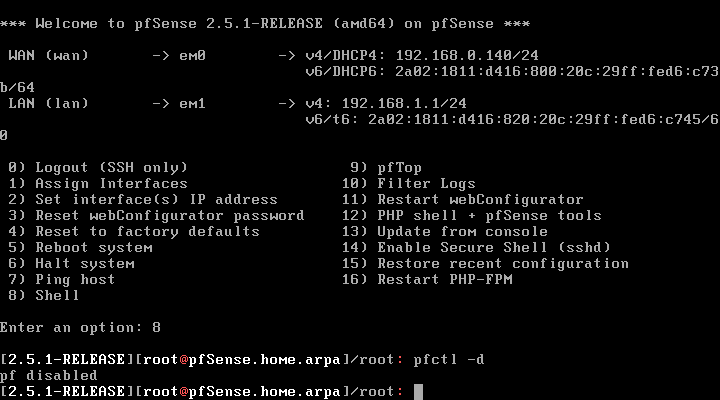
Upon completion of the reboot, the following screen will display:
WAN Interface IP: This corresponds to your home LAN network.
LAN Network: This represents the new virtual network.
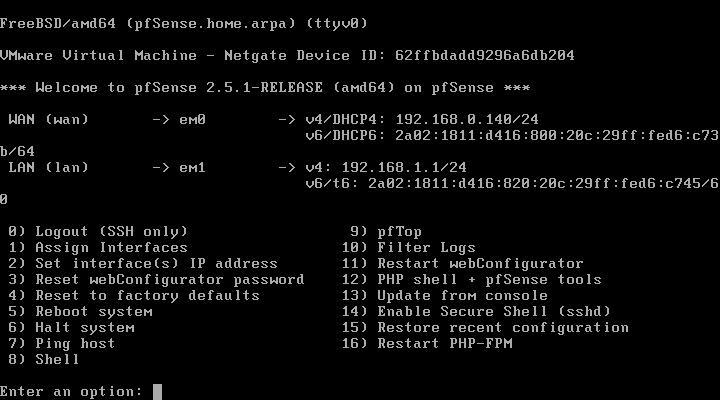
Since there are no virtual machines in the new virtual network and PfSense, by default, does not allow incoming connections from the WAN. Which means we cant configure our new firewall, but with these steps you can fix it: Open a shell from the console by pressing the number 8.

Once in the shell you need to type "pfctl -d", this will disable the firewall. Now you should be able to surf to the IP adress that is shown on the WAN interface, in the next section we will do some basic configuration.
PfSense - configuration
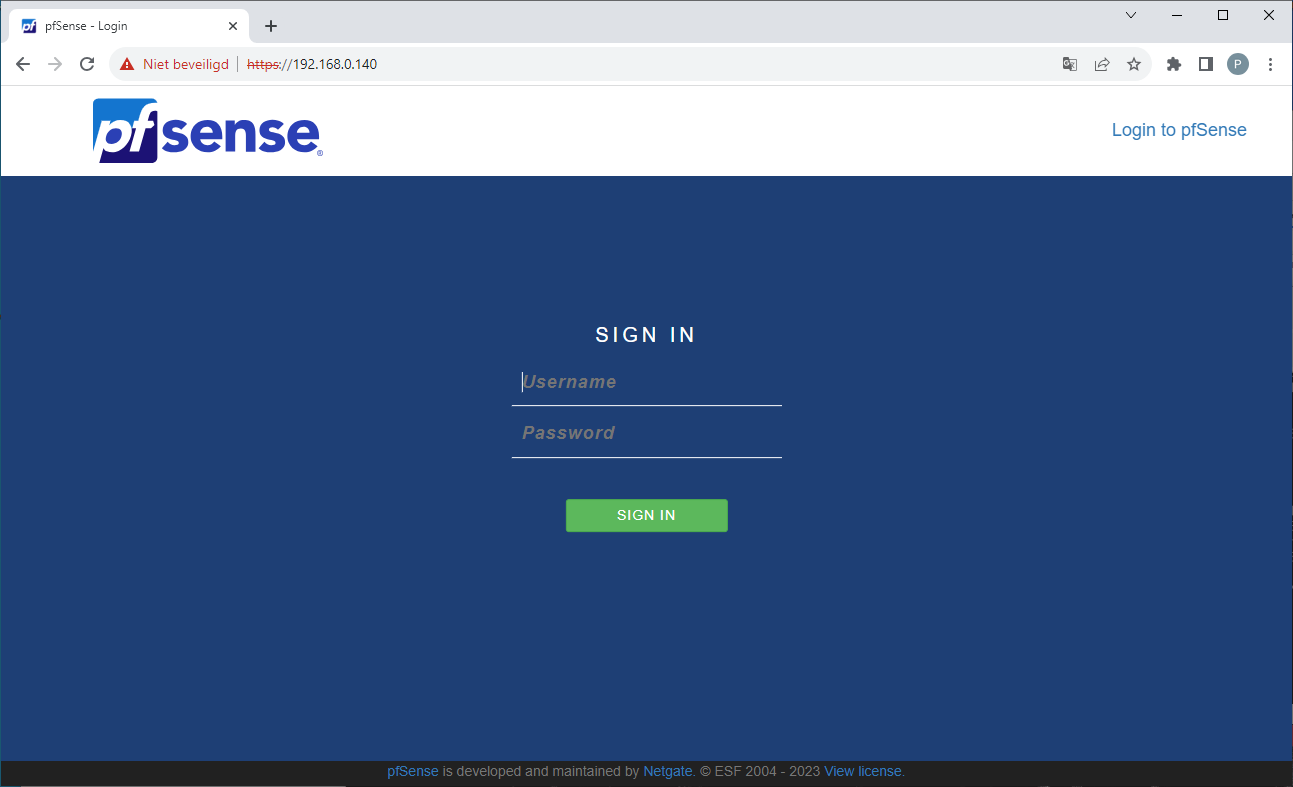
By default, PfSense is ready to use out of the box. Meaning it is secure by default. What i'm going to configure is the DHCP range from the newly create virtual network and create a new VLAN network. When you first surf to the PfSense configuration page you need to sign in with the default credentials (admin/pfsense). Then you need to do some basic configuration, those steps a really straight forward.
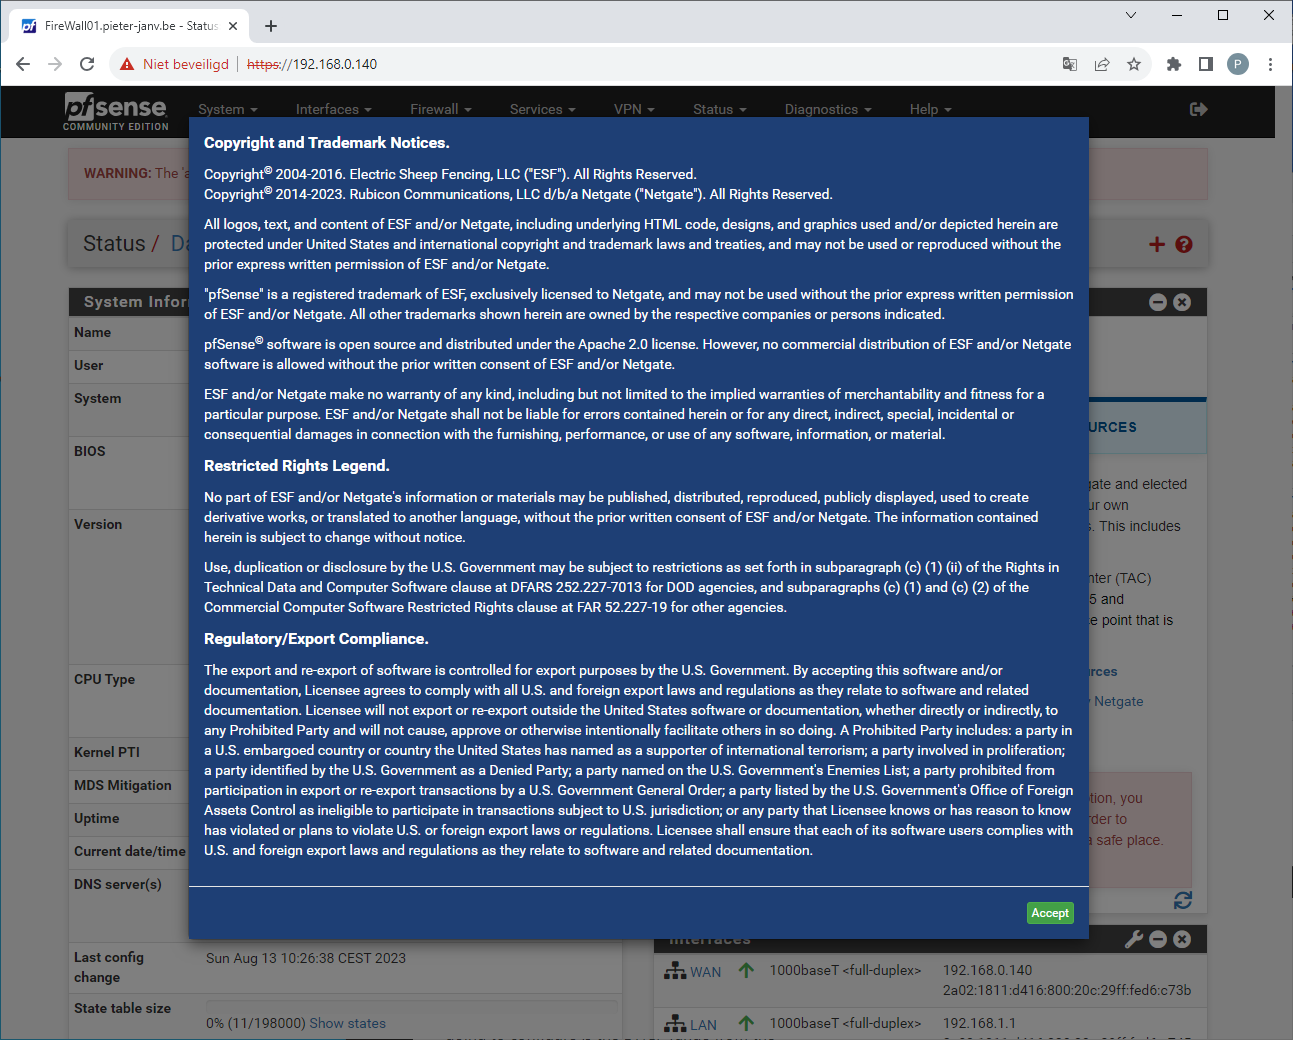
Once the basic configurations are done you will need to accept the EULA once more.
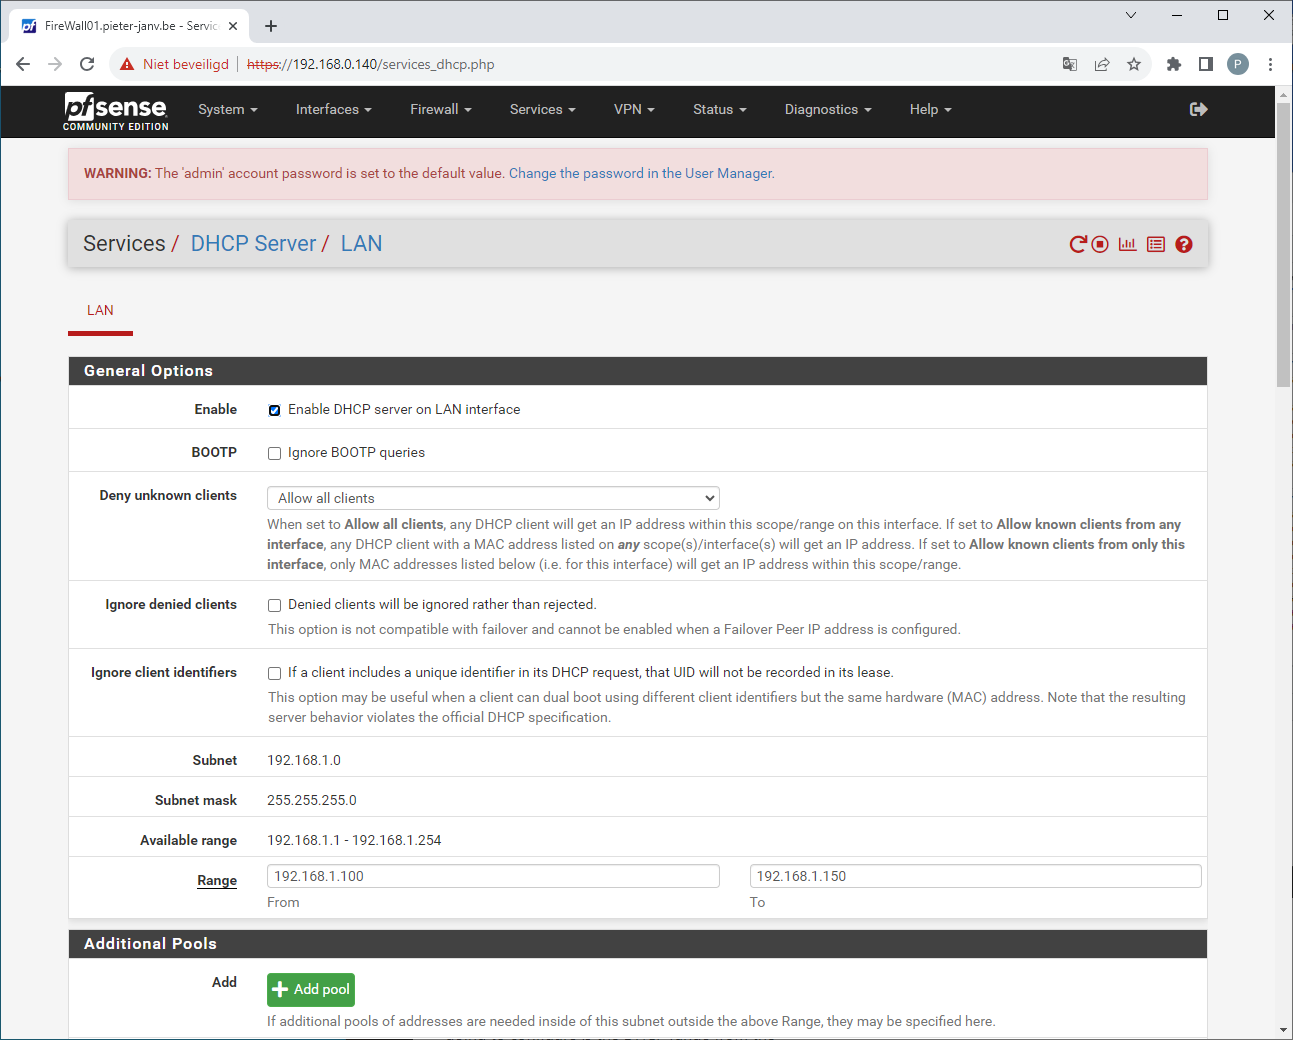
To alter the default dhcp range from the new virtual network, select from the menubar services and press on DHCP server. The reason i will alter this range is because i will be adding some virtual machines in this network that require a static IP. Scroll down until you see range, there type your desired dhcp range. Scroll all the way down and press save.
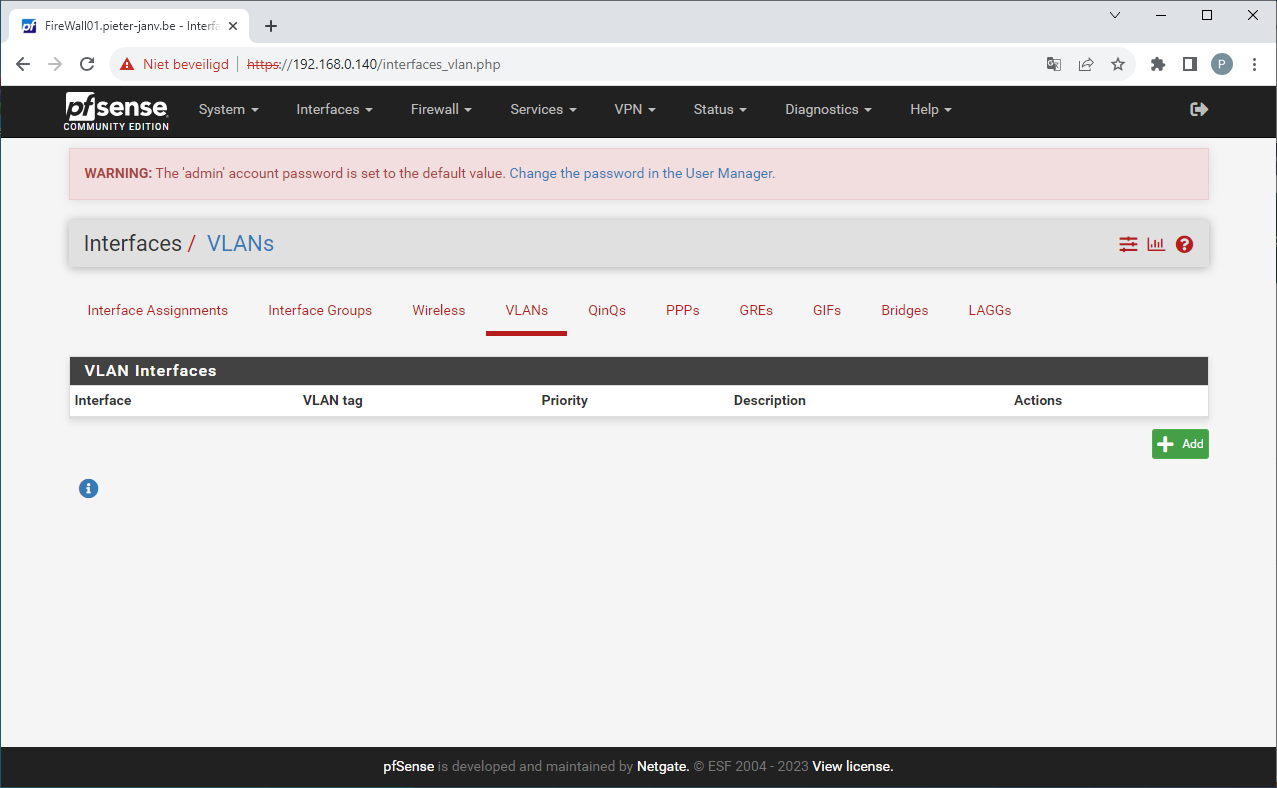
To create a new VLAN go to interfaces and click on Assigments. There you can press on VLAN's and click on the Add button.
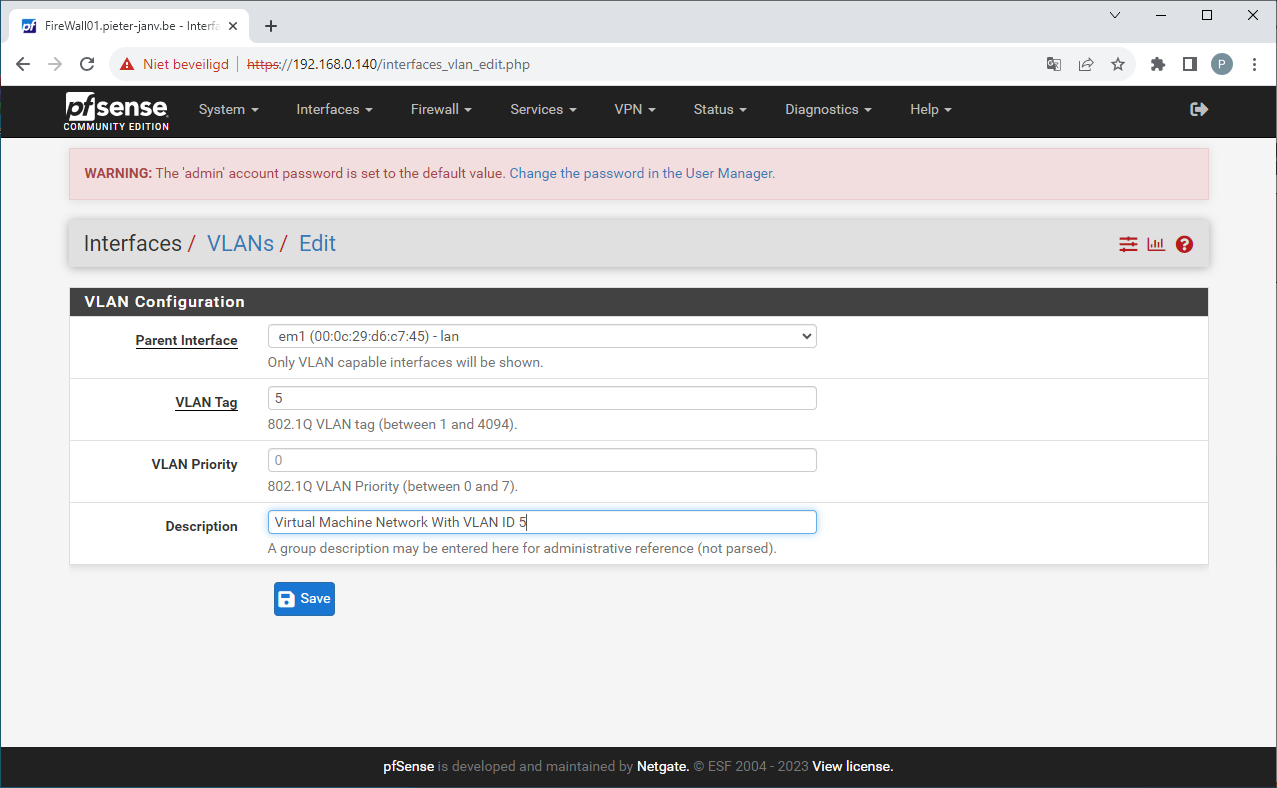
On the following page, you have the opportunity to provide details for the new VLAN network. This step involves crucial configurations, such as selecting the appropriate parent interface; be certain to choose your LAN interface. In the "VLAN Tag" field, you must enter a VLAN ID that is corresponds with the VLAN ID in the ESXi's port group settings. Press safe to create the new VLAN.
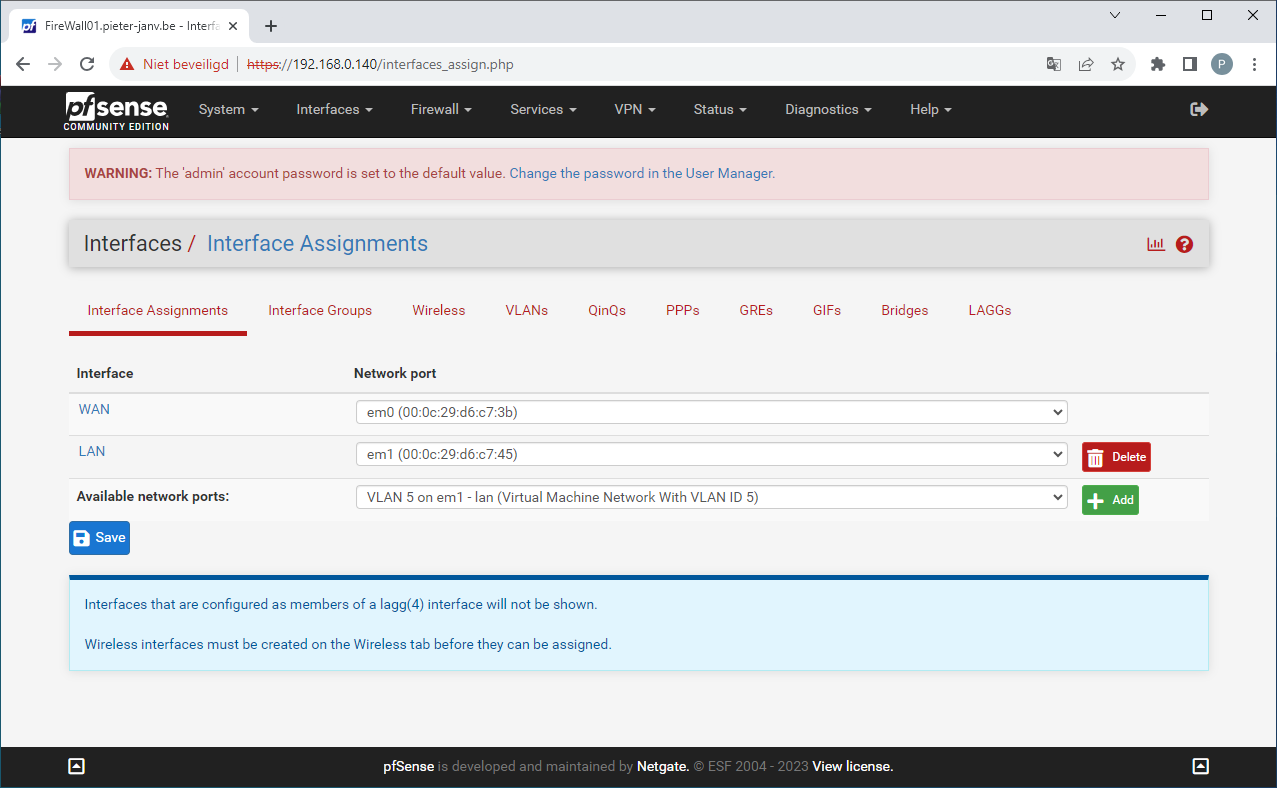
When the new VLAN is created you can navigate to "Interface Assignments", there you can see the newly created VLAN. Press add to add the new VLAN. Normay you will see a new interface called "OPT1", click on that new interface to edit some settings.
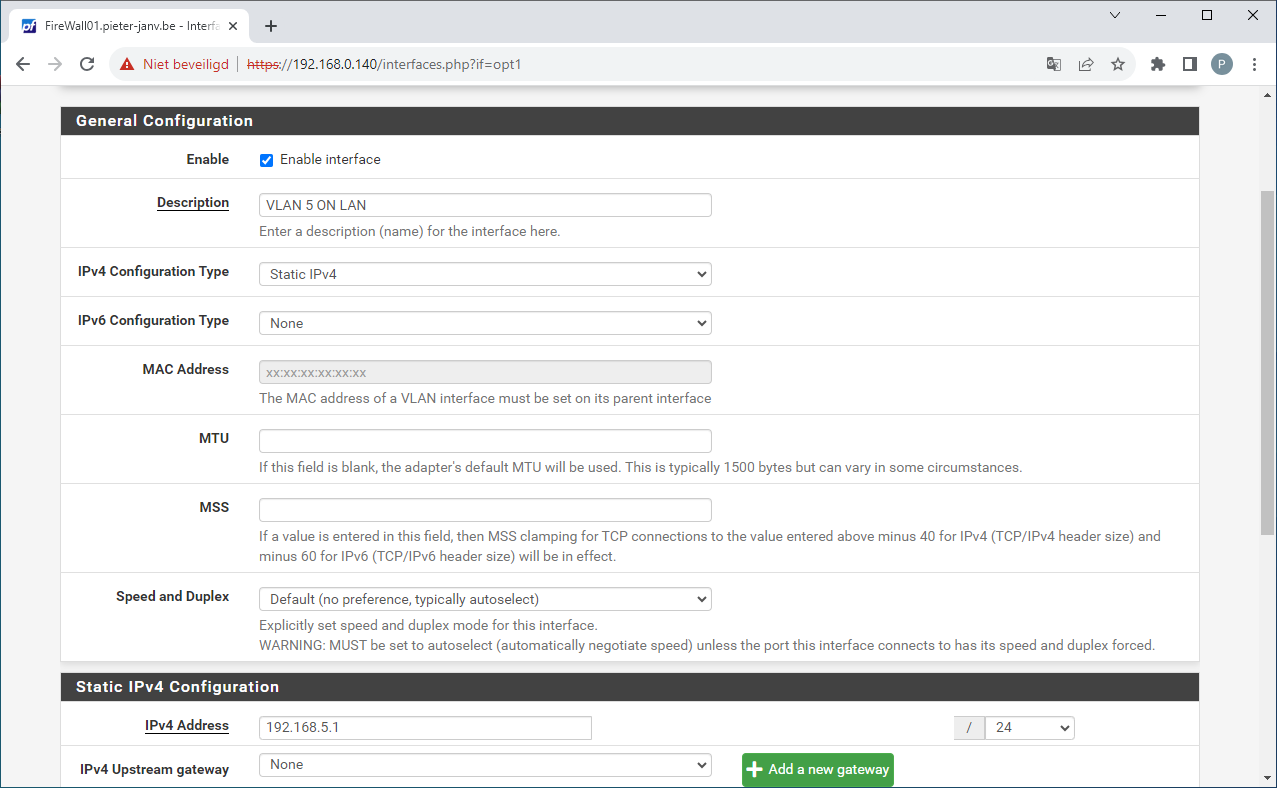
In this section, you have the option to customize the interface name and provide a description. Additionally, you can assign an IPv4 address to the VLAN interface. This IPv4 address will remain static. Upon entering this section, a new segment will become accessible, allowing you to specify your preferred IPv4 address along with its corresponding subnet mask. Press Safe continued with Apply Change to safe the configuration.
Upon the creation of a new network, There is no active DHCP server by default. Because of that, any connected virtual machines to this network will not be assigned an IP address automatically.
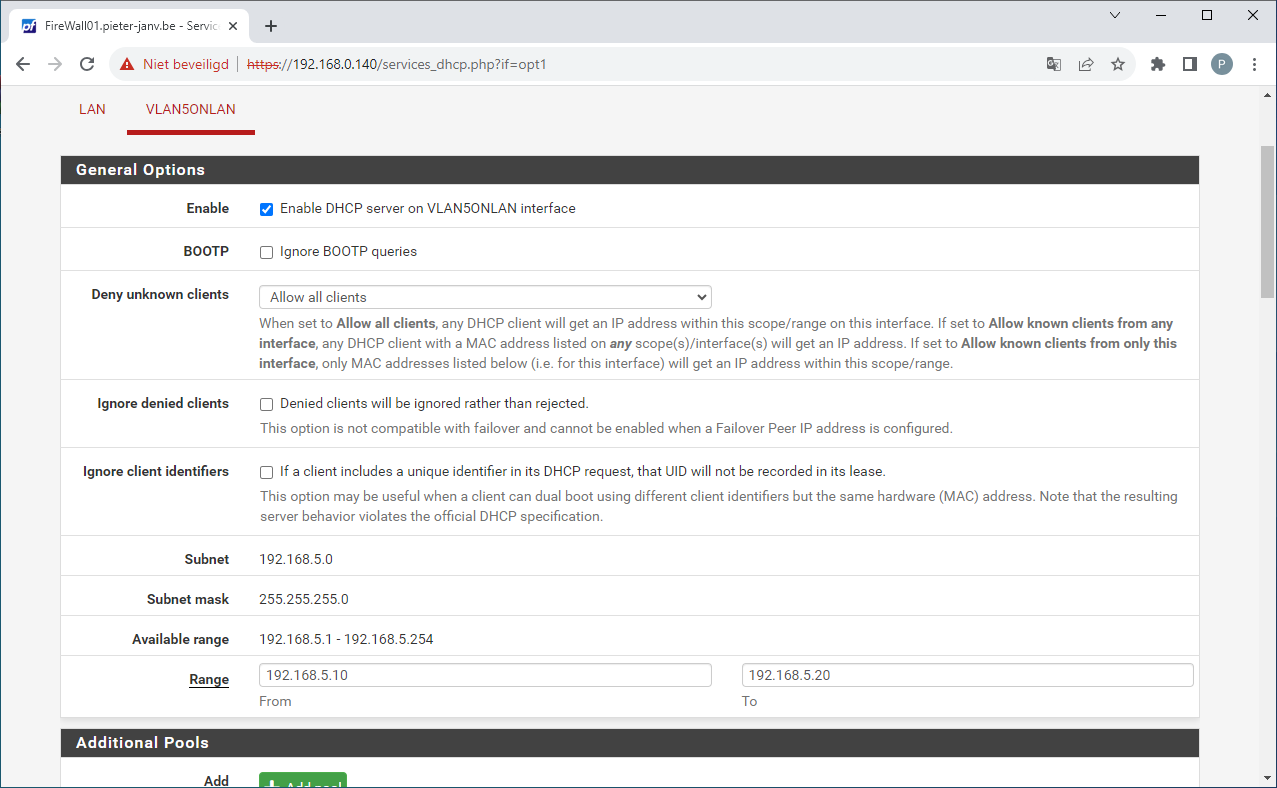
To enable DHCP functionality, navigate to the "Services" section and select "DHCP Server." select the appropriate interface and proceed to enable the DHCP server by marking the designated checkbox. You can then define a DHCP range according to your preferences, ensuring seamless IP address allocation for connected devices.
To ensure the functionality of the new VLAN, it's essential to establish specific firewall rules.
Proceed to the "Firewall" section and access the "Rules" tab.
By default, PfSense restrict both incoming and outgoing connections for a newly established network.
Consequently, this network lacks internet access. The following steps illustrate how to allow internet access to the new network:
Identify the interface and click on the "Add" button to create a new rule.
Within this rule configuration, select "PASS" as the action.
From the available protocol options, choose both UDP and TCP.
In the "Destination" section, opt for the "Invert Match" function and select "LAN net."
This configuration ensures that devices on the new VLAN network can access the internet while excluding access to the LAN network.
In a later i will give a deeper understanding of the options to create a new firewall rule.
Want to know how to setup a VPN in PfSense, go to the next chapter.
